In many situations it can be useful to return to a previous version of your site: from an unexpected crash to accidental deletion of important data, from a hack on your site to … the list is endless.
In this article you’ll learn how to quickly and easily restore your Joomla from a backup and get your website back online in no time!
As with creating backups, restoring a Joomla site from a backup done with the help of an extension or manually.
We’ll look at both methods here, but the path you take will most likely depend on whether your backup was created with an extension or manually.
The starting point for restoring a site is a backup: if you don’t already know how, here you can check our article on how to backup your Joomla site.
Backup restoral with Akeeba Backup
Akeeba Backup is the most popular extension on the JED. It’s also the easiest method to backup/restore a Joomla website.
Assuming you have a backup file created using Akeeba, restoring it is pretty straightforward.
Part 1: File/directory restoral
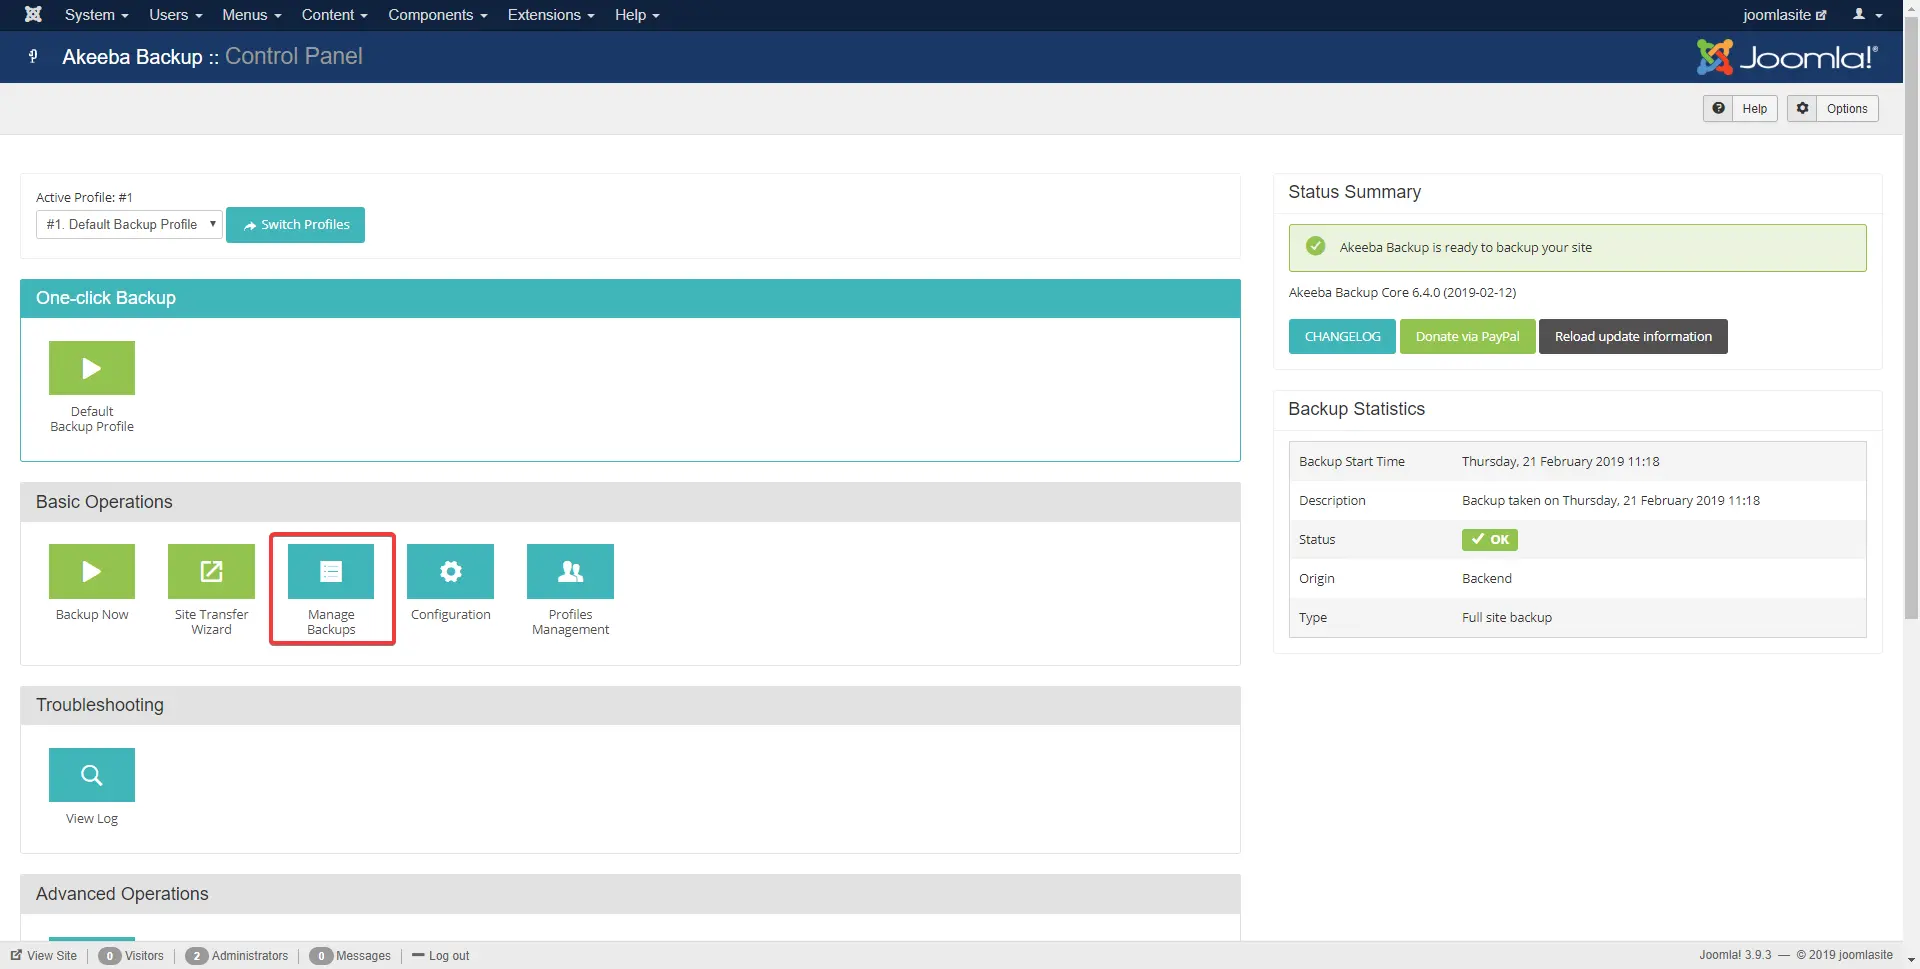
Go to Components > Akeeba Backup
Click on Manage BackupsFinding backups in Akeeba Backup
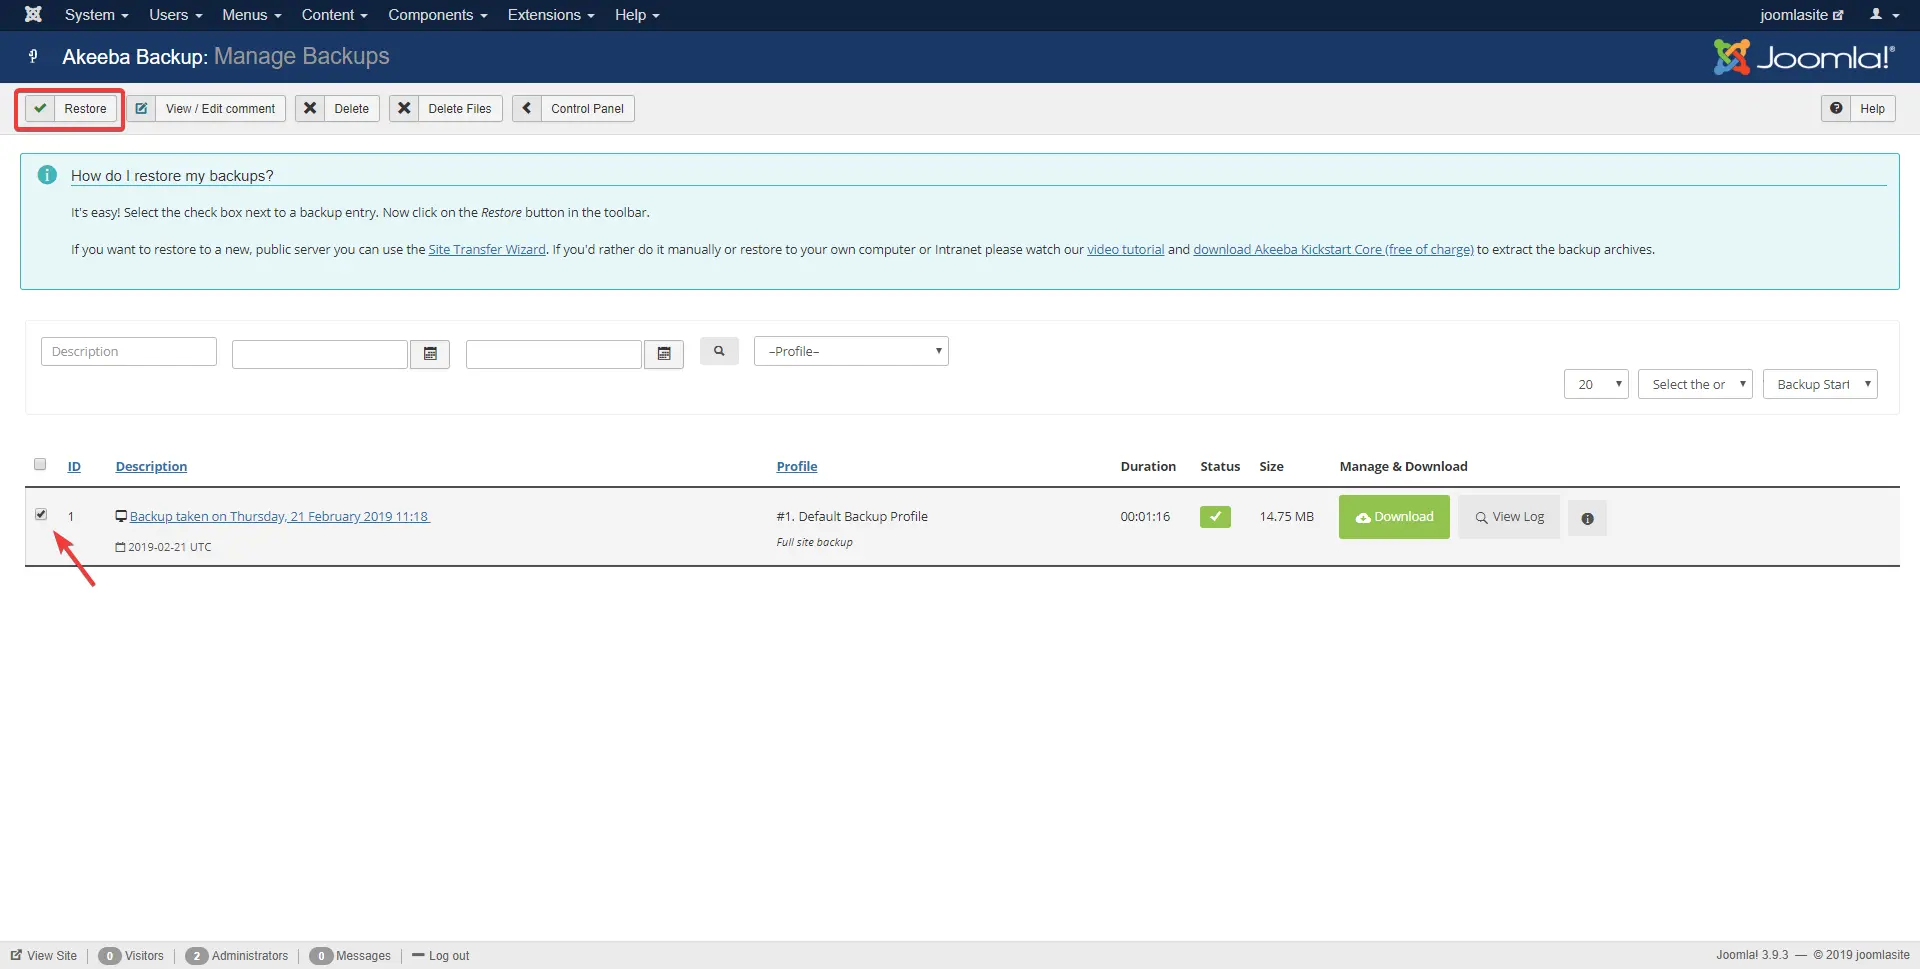
Select the backup you wish to restore and click RestoreRestoring the latest backup
Click Start Restoration
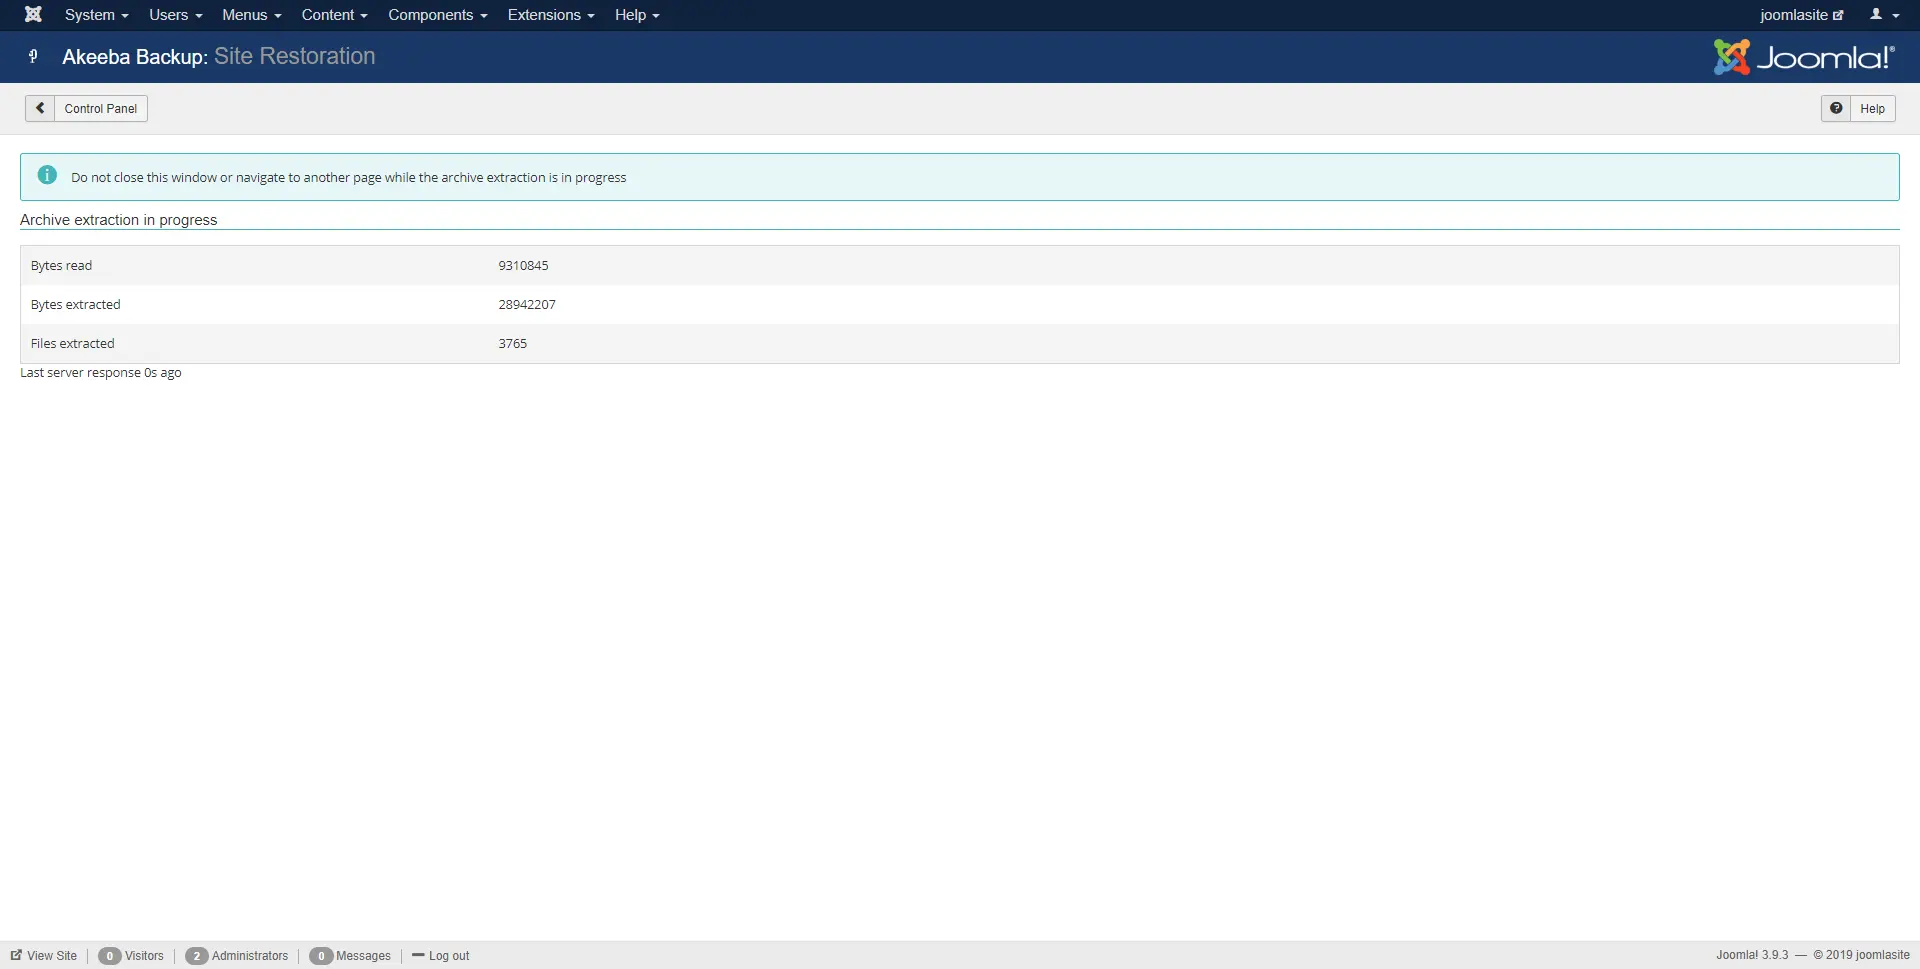
Wait for the archive to be extractedExtraction of the archive
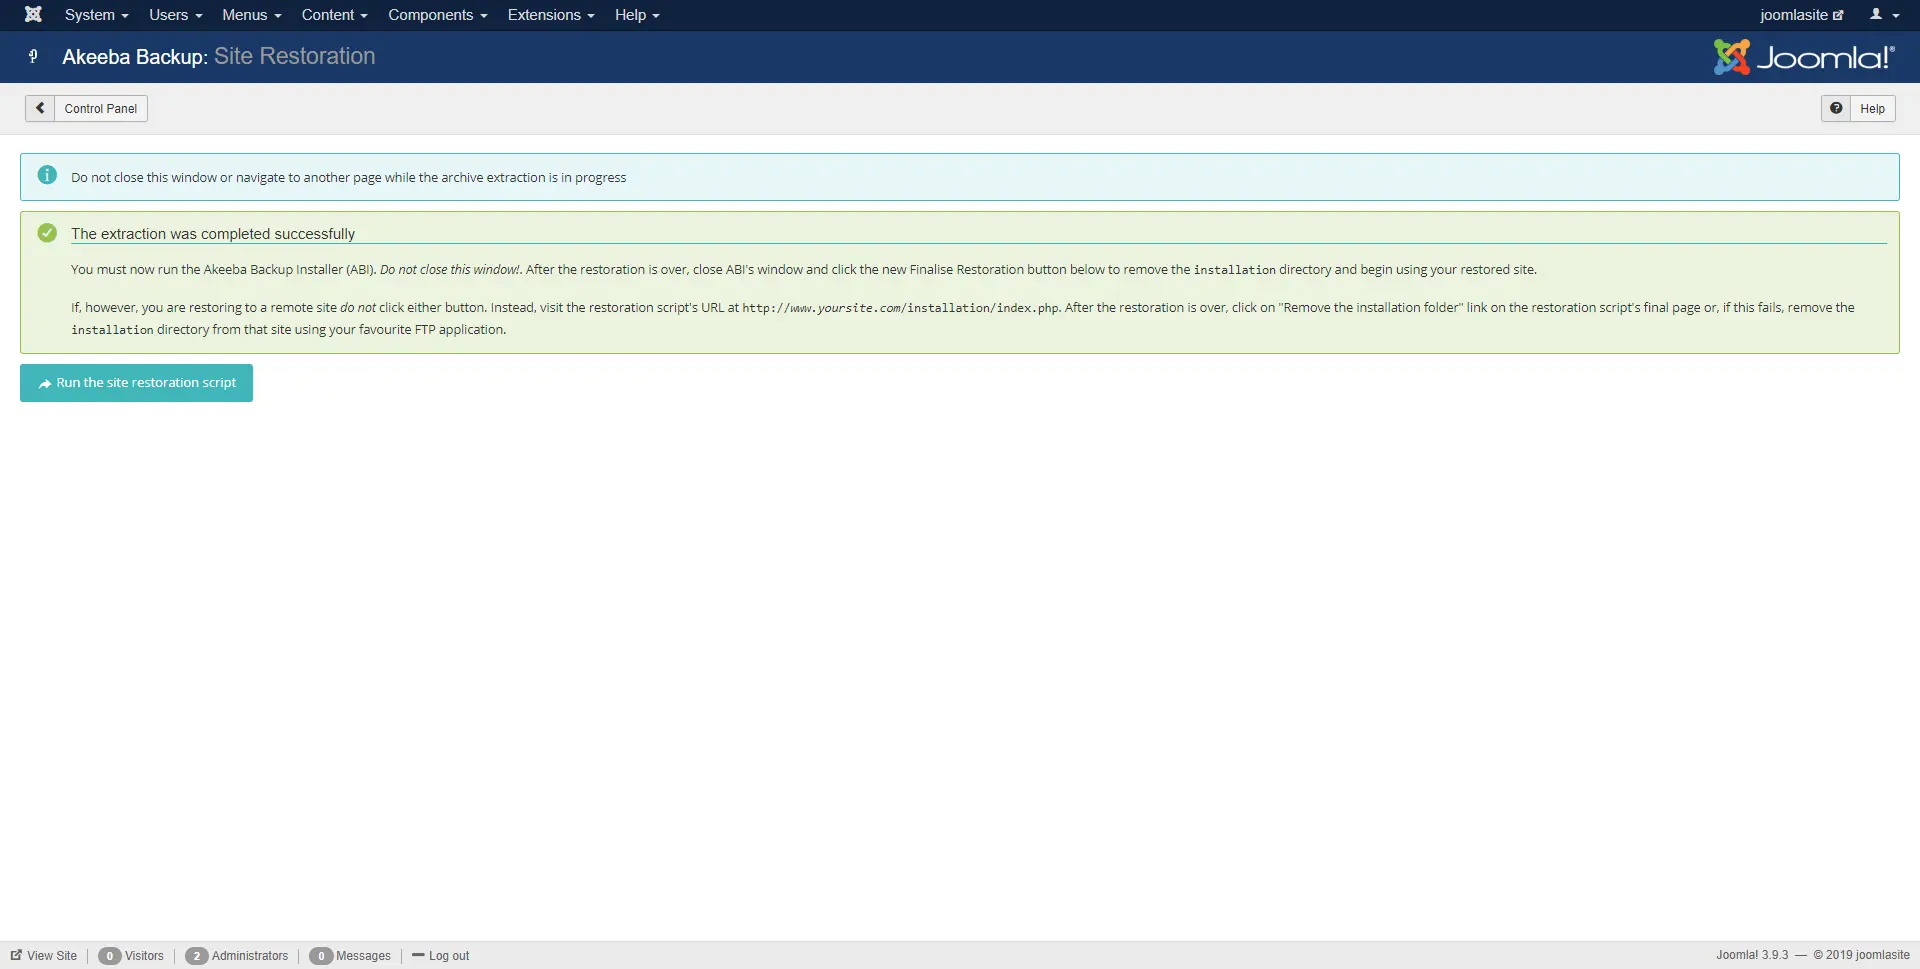
Once the archive has been extracted successfully, click Run the restoration scriptSuccessful archive extraction
Part 2: database restoral
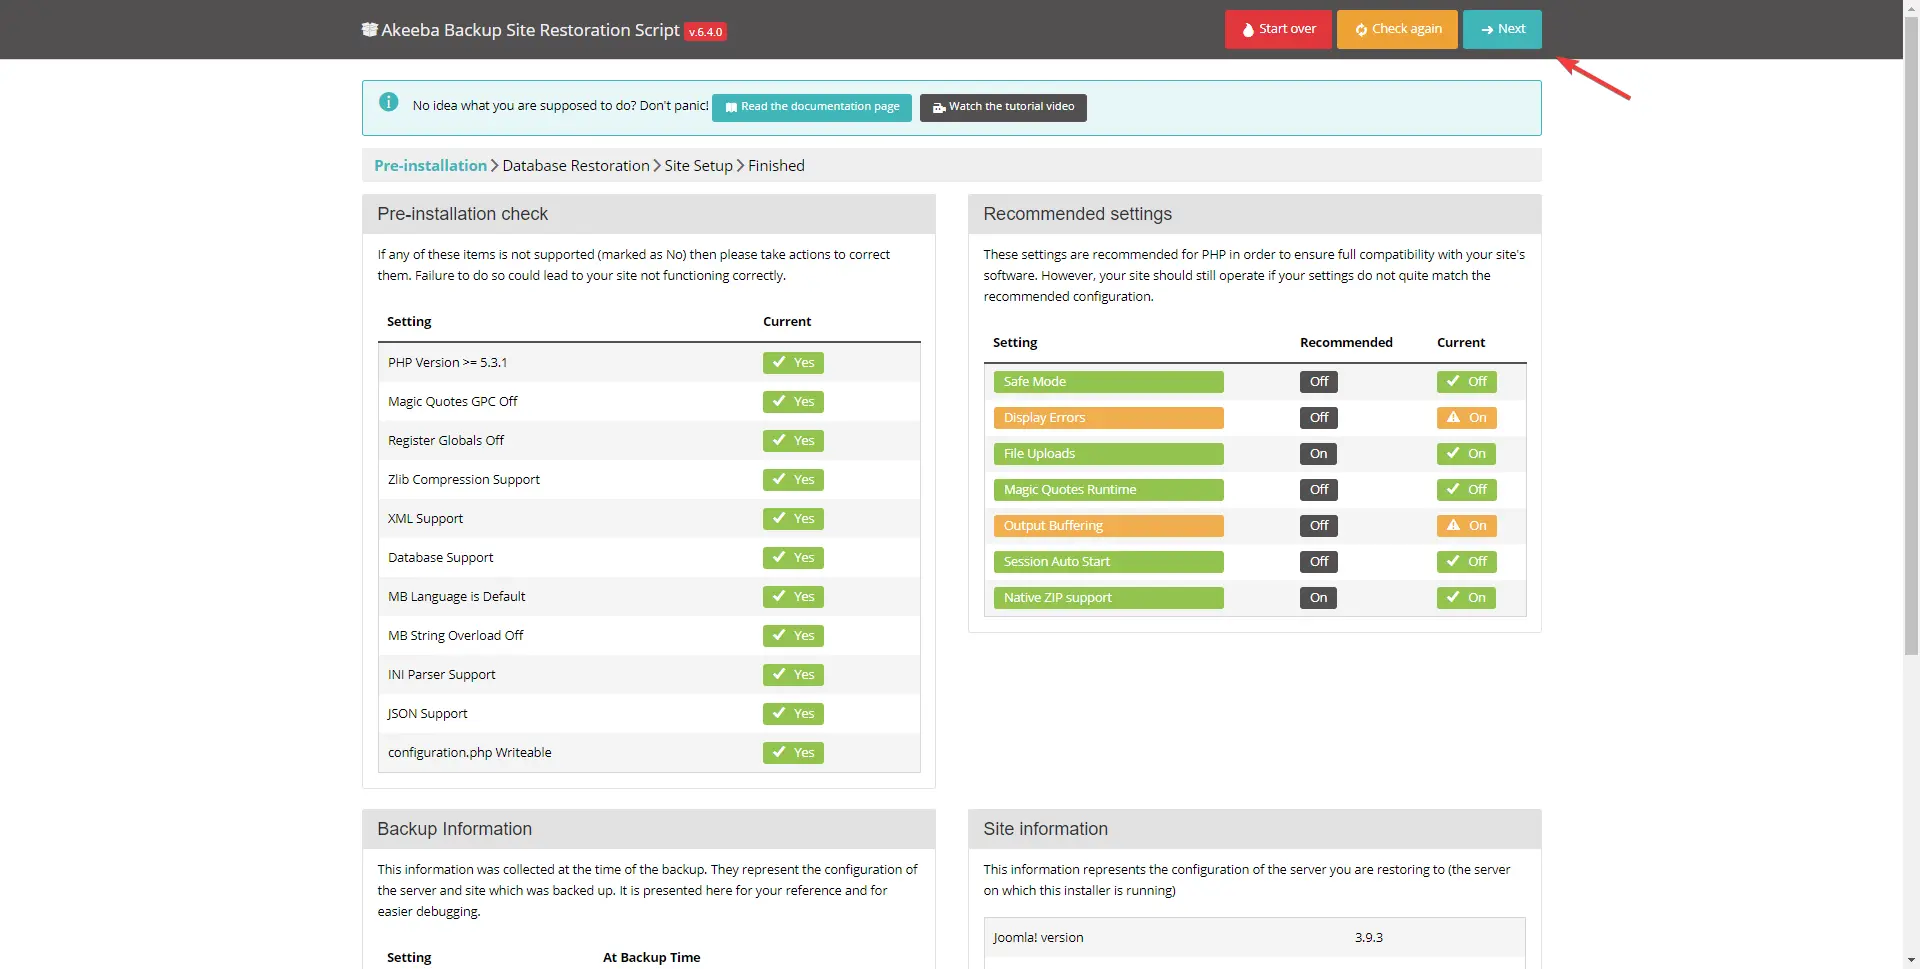
Once the archive has been extracted successfully, click Run the restoration scriptRestoring the database
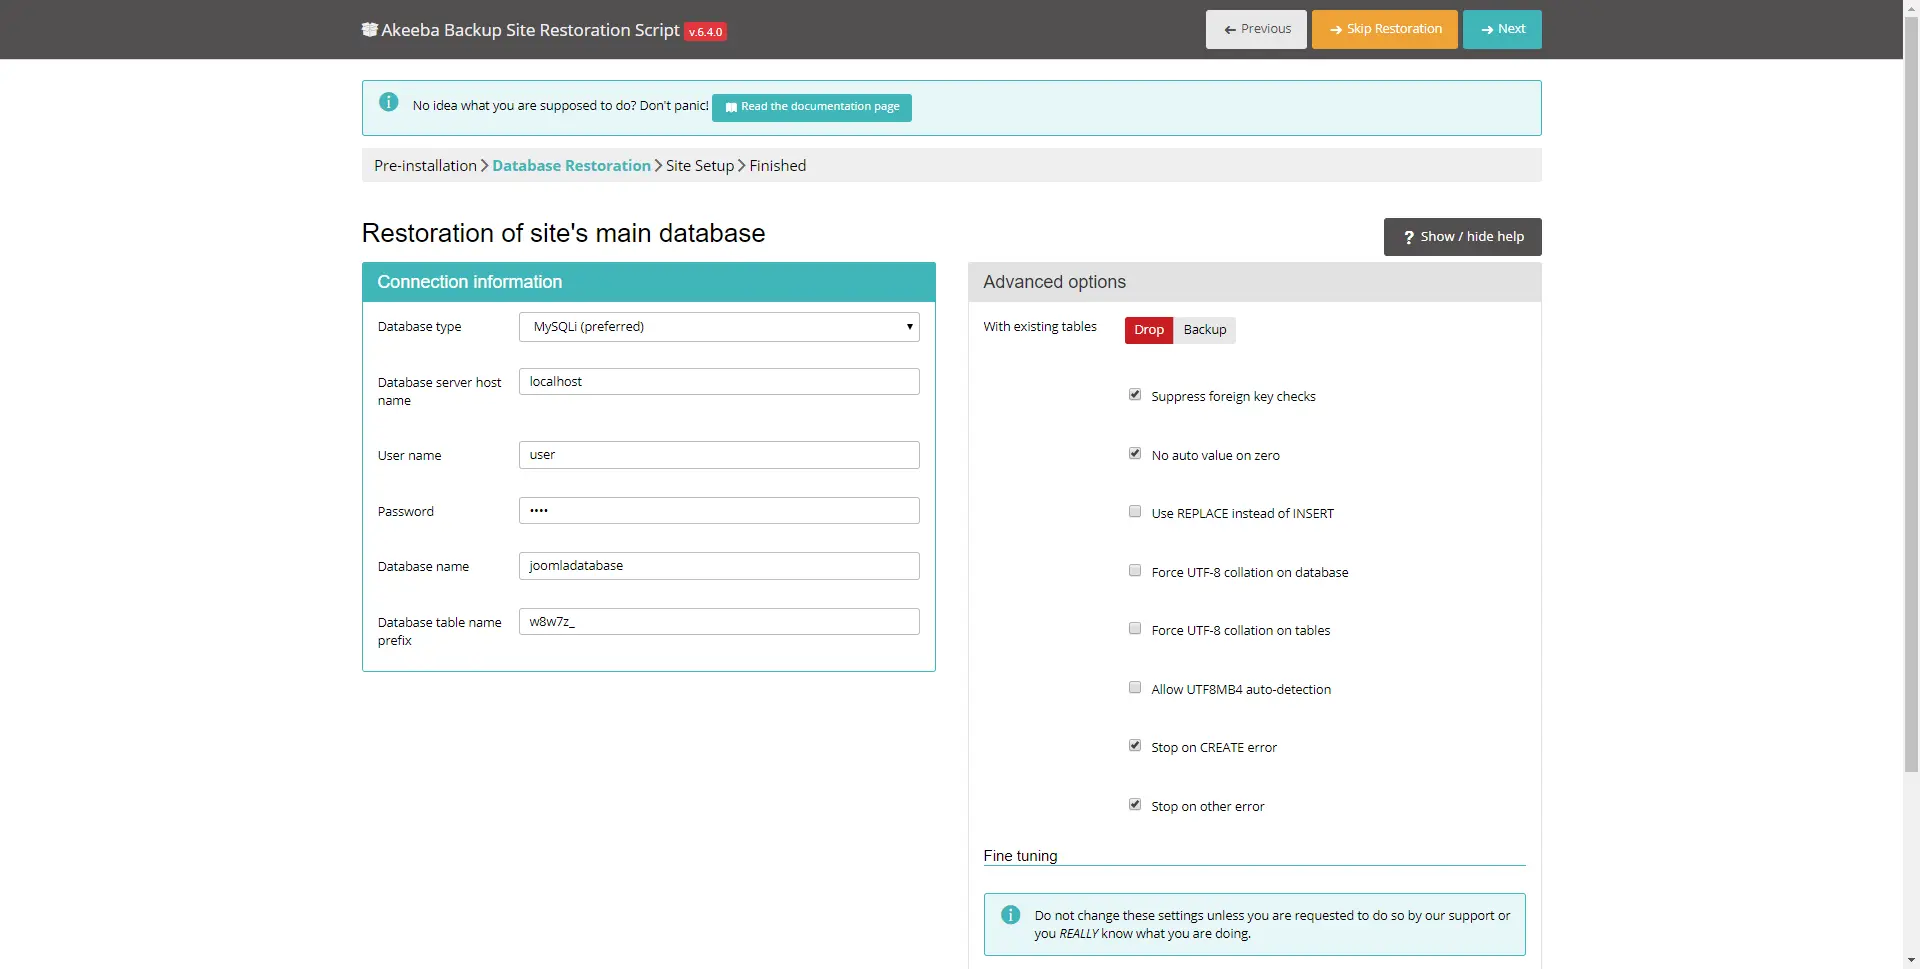
The next screen requires you to enter your database credentials. If an existing Joomla installation is recognised, these fields may be prepopulated – if not you’ll need to enter the following details: Database type: MySQLi Database server host name: localhost User name: your database username Password: your database password Database name: your database name Database table name prefix: leave it as it isEntering database information
Don’t touch the stuff to the right, just click on Next
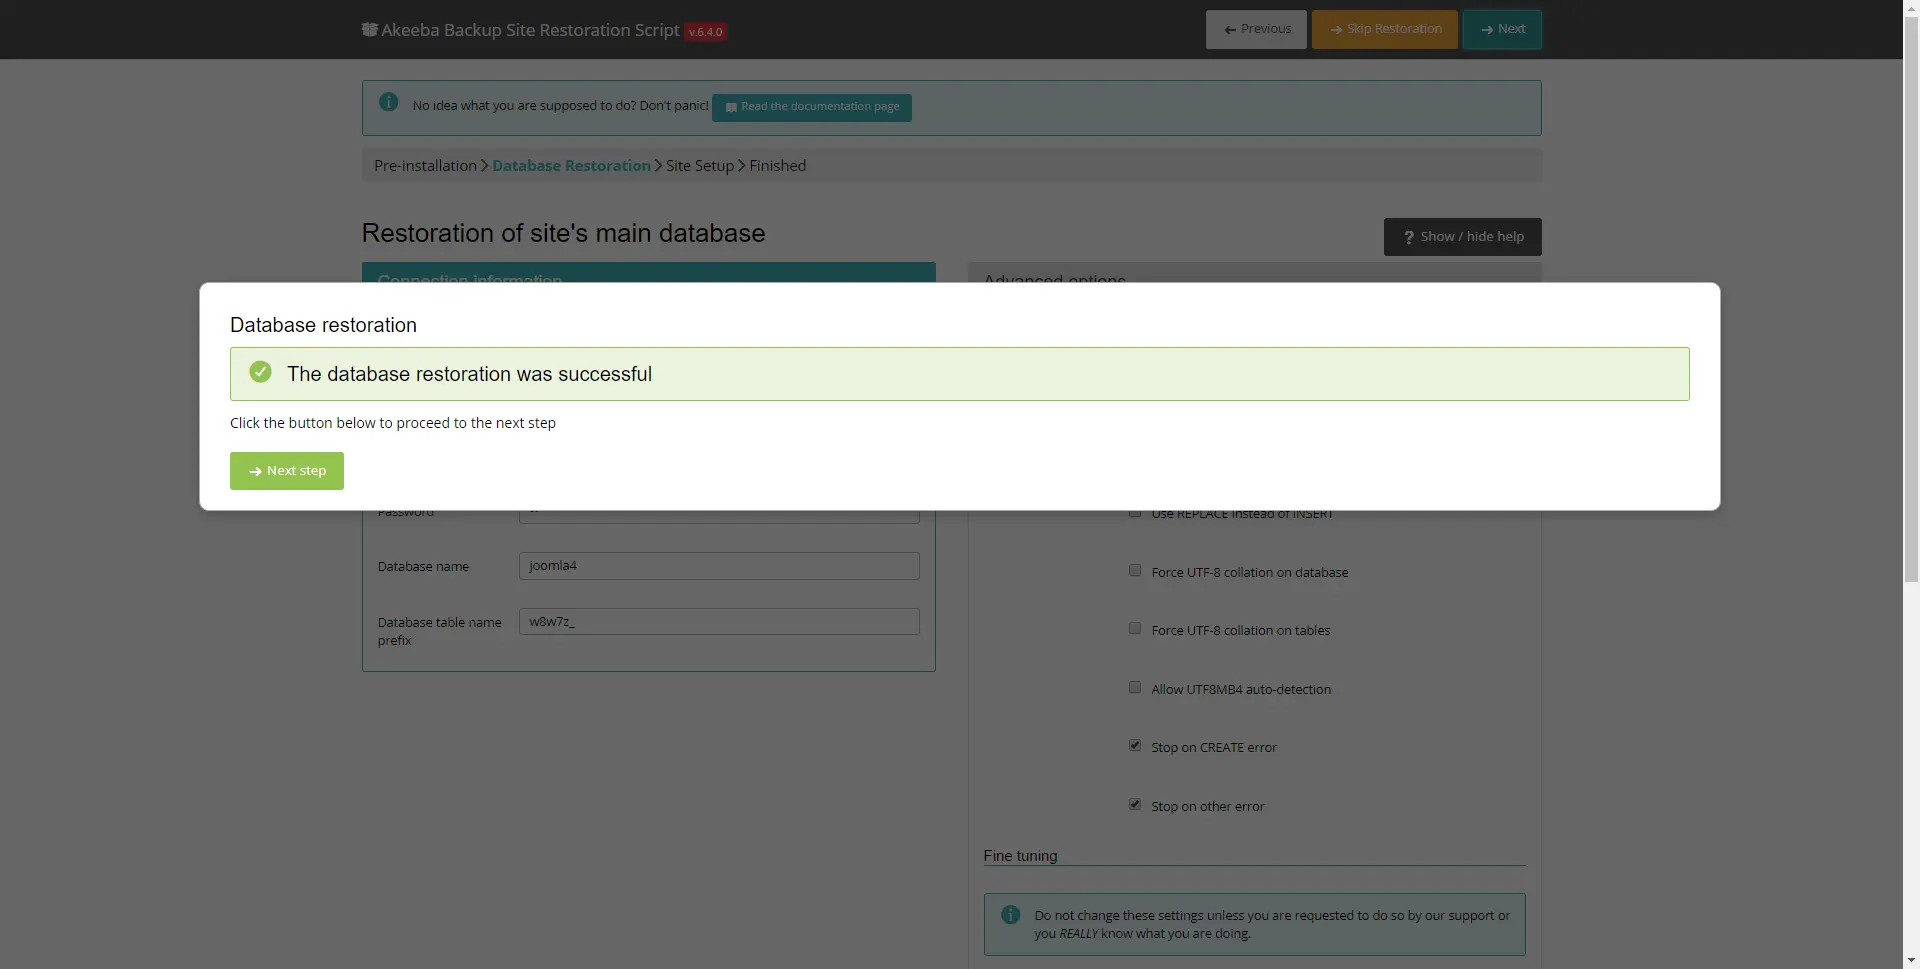
After a few moments, the database should be restored successfully Successful database restoration
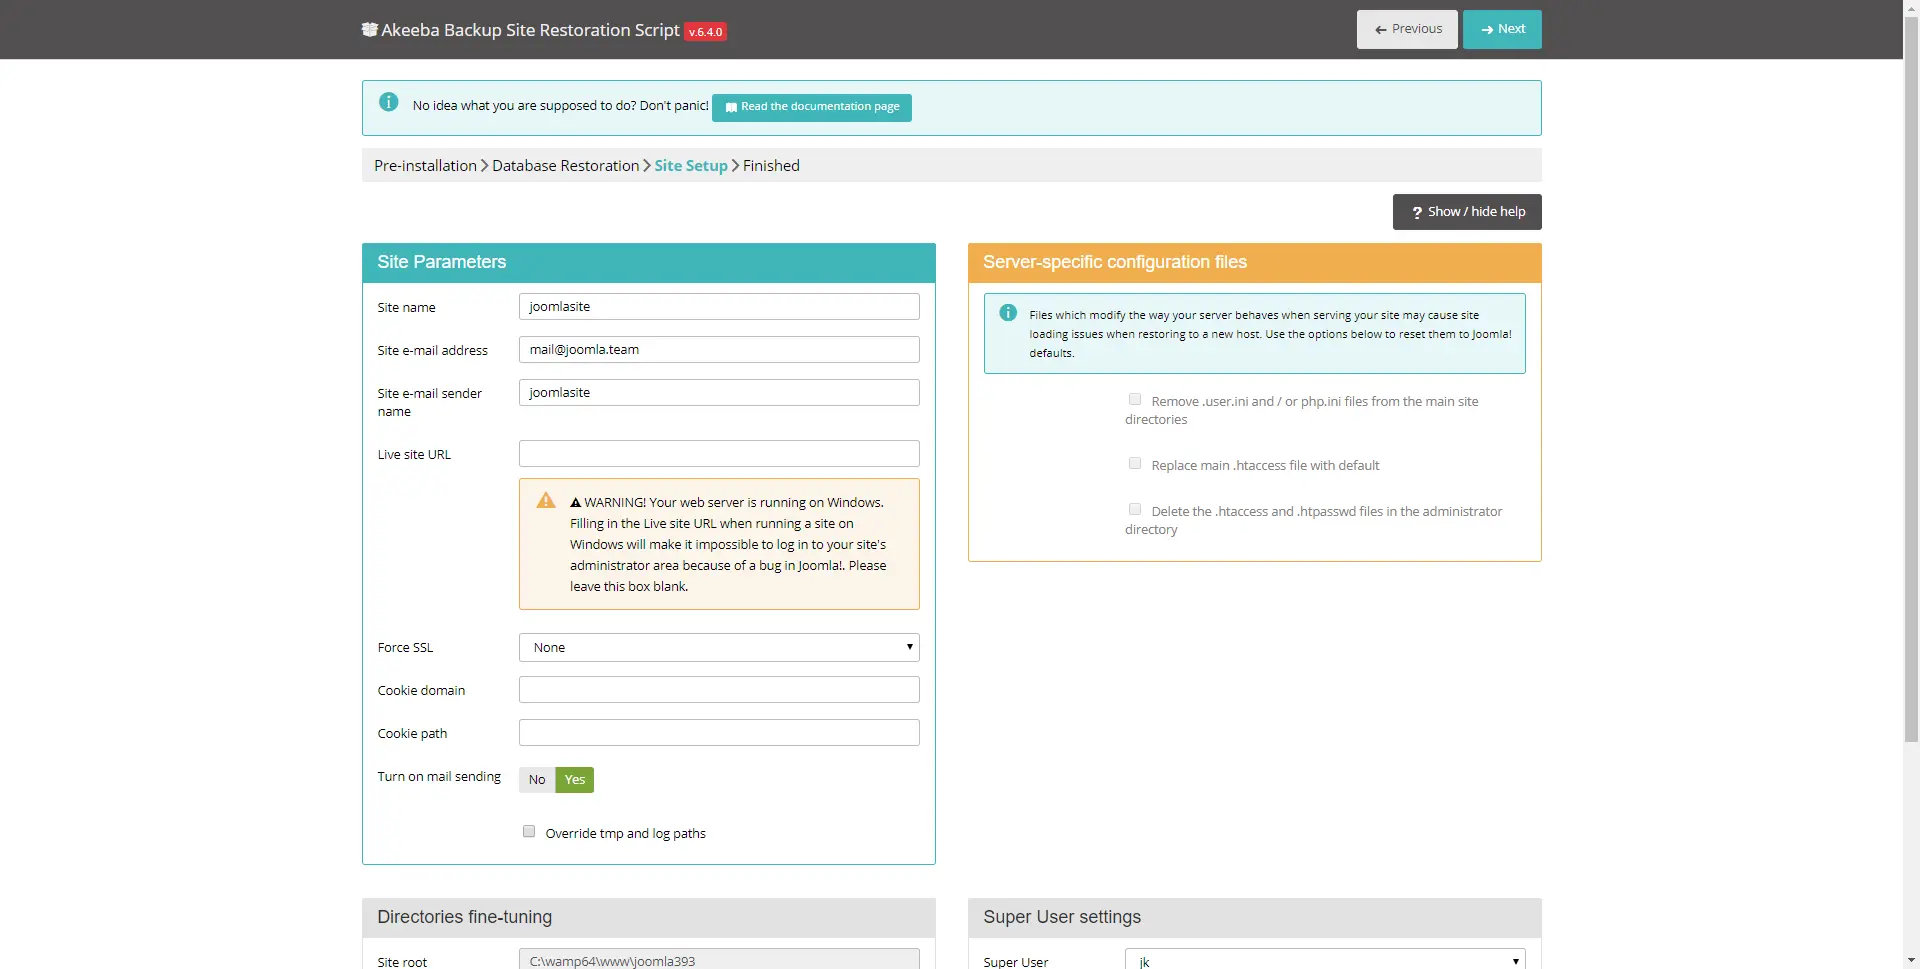
Next up – Site Setup. Everything should be correct without any intervention. Click on Next Site Setup
Don’t worry, almost done. Click on Remove the installation directory Almost…
Click on Finalise Restoration Restored!
Congrats, you’re back in the game!
Restoring a manual Joomla backup
Restoring a site manually is a bit more work, but shouldn’t present a big problem. Of course, this implies you’ve made a manual backup and have all of the relevant files.
The best way to access/edit files and folders on your server is by using an FTP client. You can read about working with an FTP client here.
Ready for more screenshots? Let’s go!
Restore your Joomla files Before anything, make sure you have a backup ready in case things go wrong Delete all current files and folders from your server Transfer all of the backed up Joomla files and folders from your local drive to the server
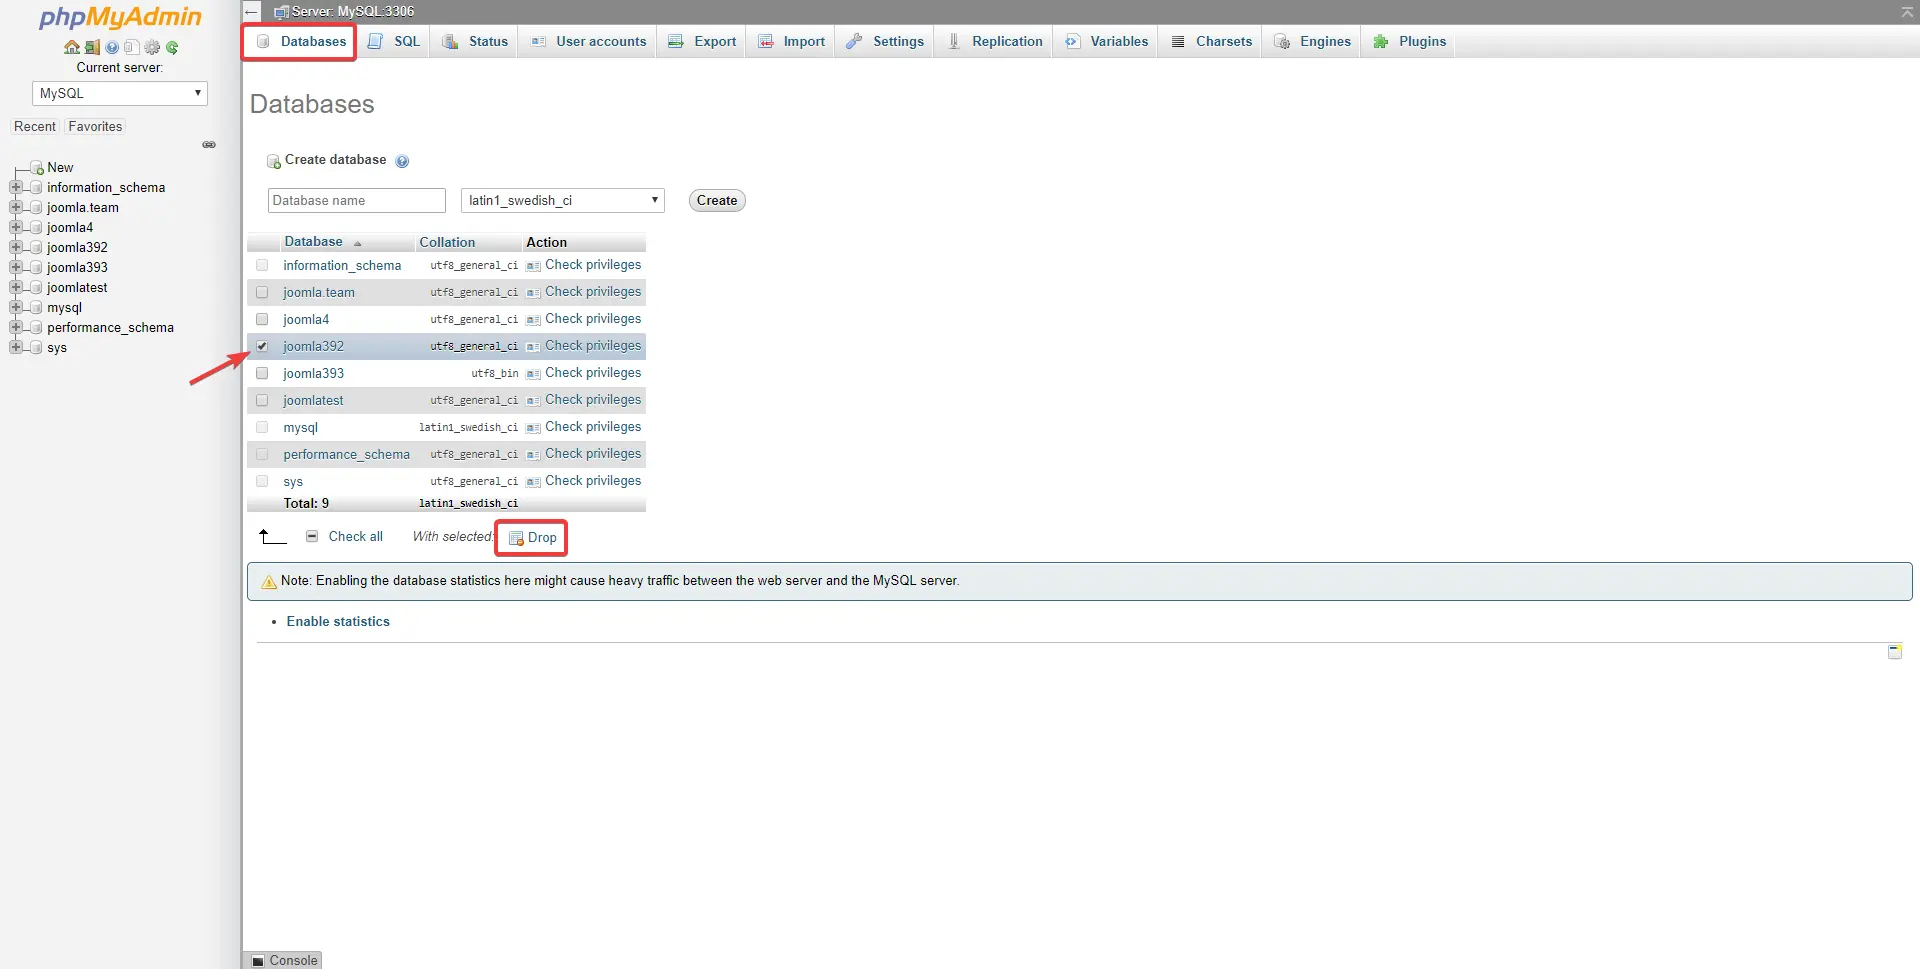
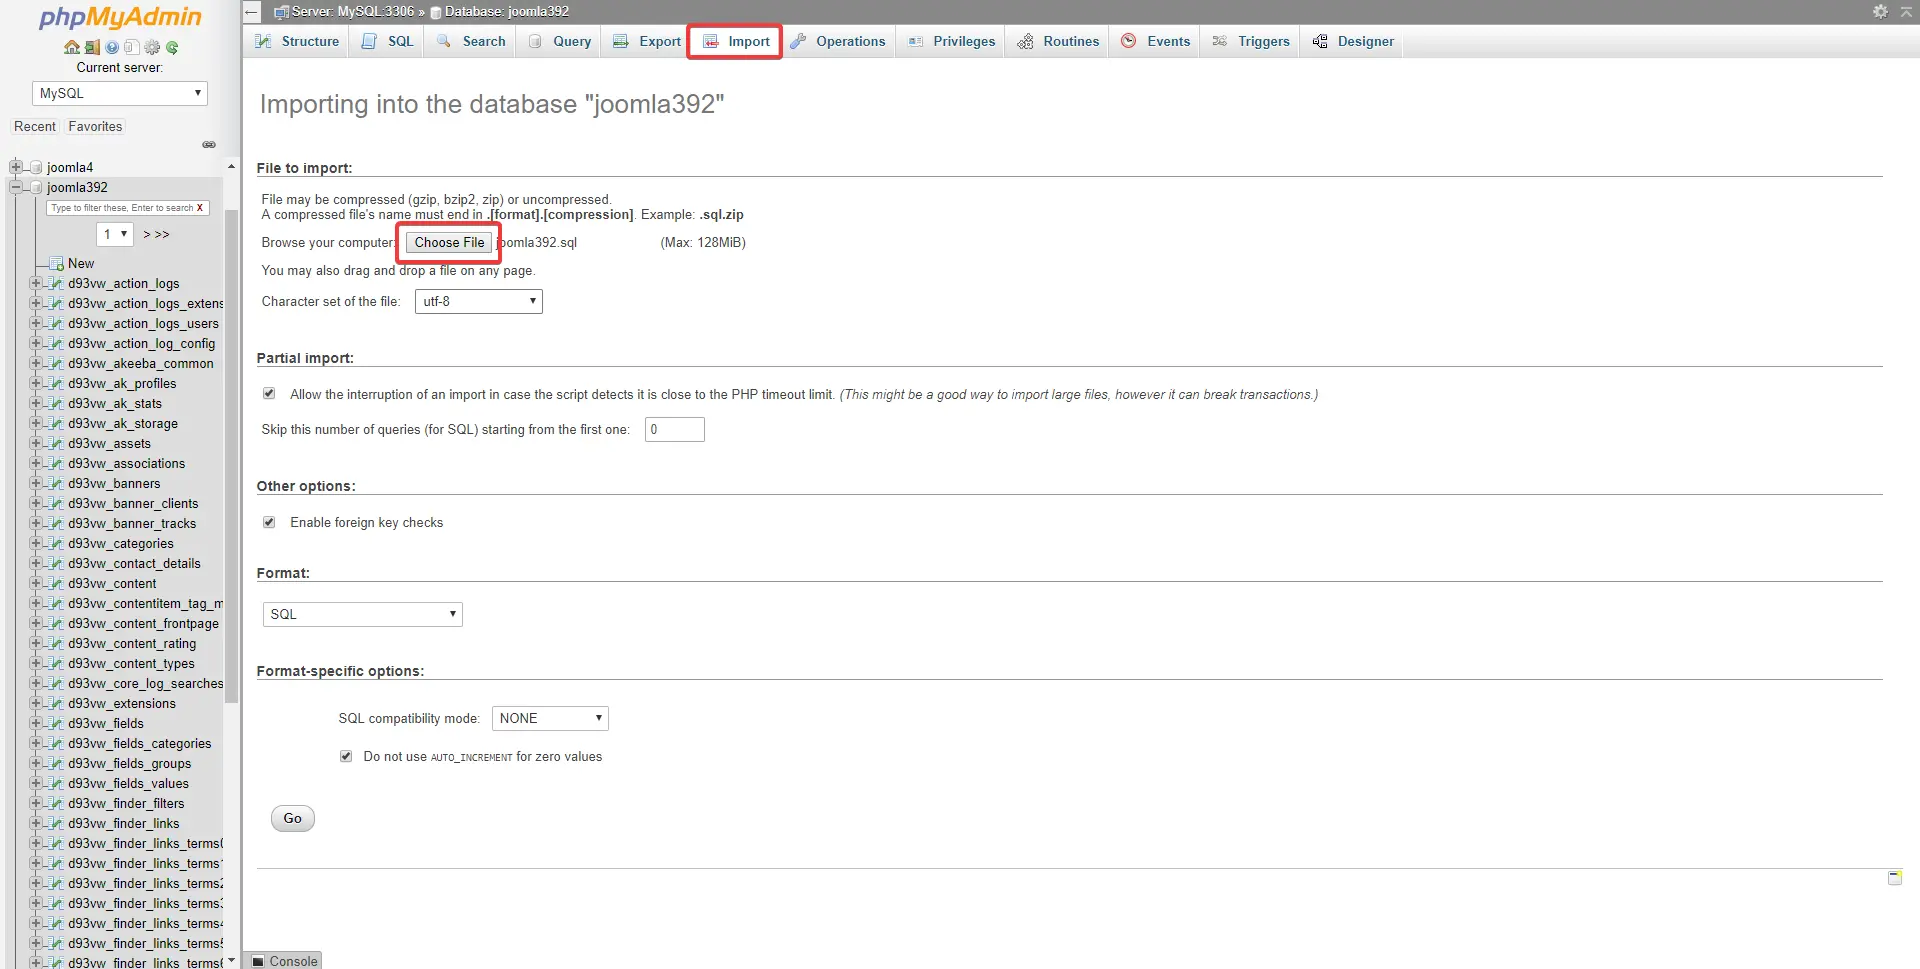
Restore your database Go to phpMyAdmin Choose Databases, select the checkbox for your database and click DropDeleting all values from the databaseNow, select your database from the list on the left Click Import, select the SQL backup on your local computer and click GoImporting values from an SQL backupYour database is imported and ready to use!Success!
If the backup was created correctly, your site should now be restored. Hopefully, this is the last time you’ll have to do so.
If none of the above worked, we recommend you ask someone else to do it for you. You can also contact us at contact@hvdig.co.uk for help.
Requesting backup restore from your host
If all else fails, most hosting providers also make regular server backups which they can restore for you on request.
To find out more, try asking the support team of your web host for more information. This solution is typically pretty painless, however often hosts charge for this service, and remember that this will affect your entire web server – not just your Joomla installation!
If you are running out of ideas, contact us at contact@hvdig.co.uk. We have lots of experience in restoring Joomla sites, repairing broken ones, updating old software version, etc. Let us know about the problems you’re facing – we’ll be glad to help!