What is Google Tag Manager?
Google Tag Manager is a free service that allows you to manage your tags and insert these on your website. To get Google Tag Manager working on your site, you have to generate a tag.
Quick example: Your website is a data source and it’s sharing information with Google Analytics, which is another data source. It’s all possible with tags. Google Tag Manager makes it easier to manage multiple tags in one place.
Methods of adding Google Tag Manager
There are a few ways to enable Google Tag Manager on your paga. Let’s start with the easy way:
Method 1: Inserting GTM using a Joomla Extension
Installing the plugin
There are a few plugins designed specifically for embedding Google Tag Manager on your Joomla site. You can find them easily in the Joomla Extensions Directory.
For this article, I will be using Google Tag Manager by Tools for Joomla. It’s one of the most popular plugins for the job and it’s sole purpose is Google Tag Manager. (however the general idea is the same, whichever plugin you use)
If you have trouble installing extensions, you can always check out our How to find & install a Joomla extension article.
So, after installing the plugin, you need to enable it.
- Go to Extensions -> Plugins
- Find your newly installed plugin by name
- Open it and set the Status to Enabled
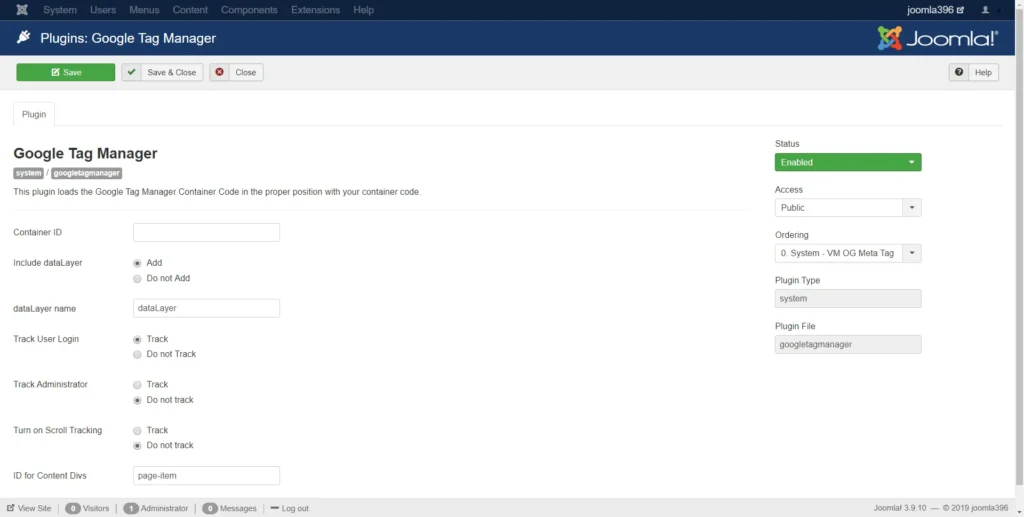
Plugin settings
Configuring the plugin
Enter the Container ID that you received from the Google Tag Manager. Other settings don’t need to be changed in most cases. When you’re happy with everything, hit Save.
That was it! You can check if Tag Manager is working by searching for a code snippet in the <head> of your site.
<script type="text/javascript">
(function(w, d, s, l, i) { w[l] = w[l] || []; m=s.getElementsByTagName(o)[0];a.async=1;a.src=g;m.parentNode.insertBefore(a,m) w[l].push({ "gtm.start": new Date().getTime(), event: "gtm.js" }); var f = d.getElementsByTagName(s)[0], j = d.createElement(s), dl = l != "dataLayer" ? "&l=" + l : ""; j.async = true; j.src = "//www.googletagmanager.com/gtm.js?id=" + i + dl; f.parentNode.insertBefore(j, f); })(window, document, "script", "dataLayer", "GTM-xxxxxxx");
</script>
Method 2: Inserting GTM manually into your template
To implement Google Tag Manager manually, you need to edit the template and include the code required for Tag Manager to function.
One thing to note is that there is no standard way to do this, it depends on the template you are using.
Since Protostar is the default template on all Joomla 3.x sites, these steps will be explained for that template in mind.
- Log to the Administrator part of your site
- Go to Extensions -> Templates -> Templates
- Click on Protostar Details and Files
- Open index.php and paste the code snippet just below
<head>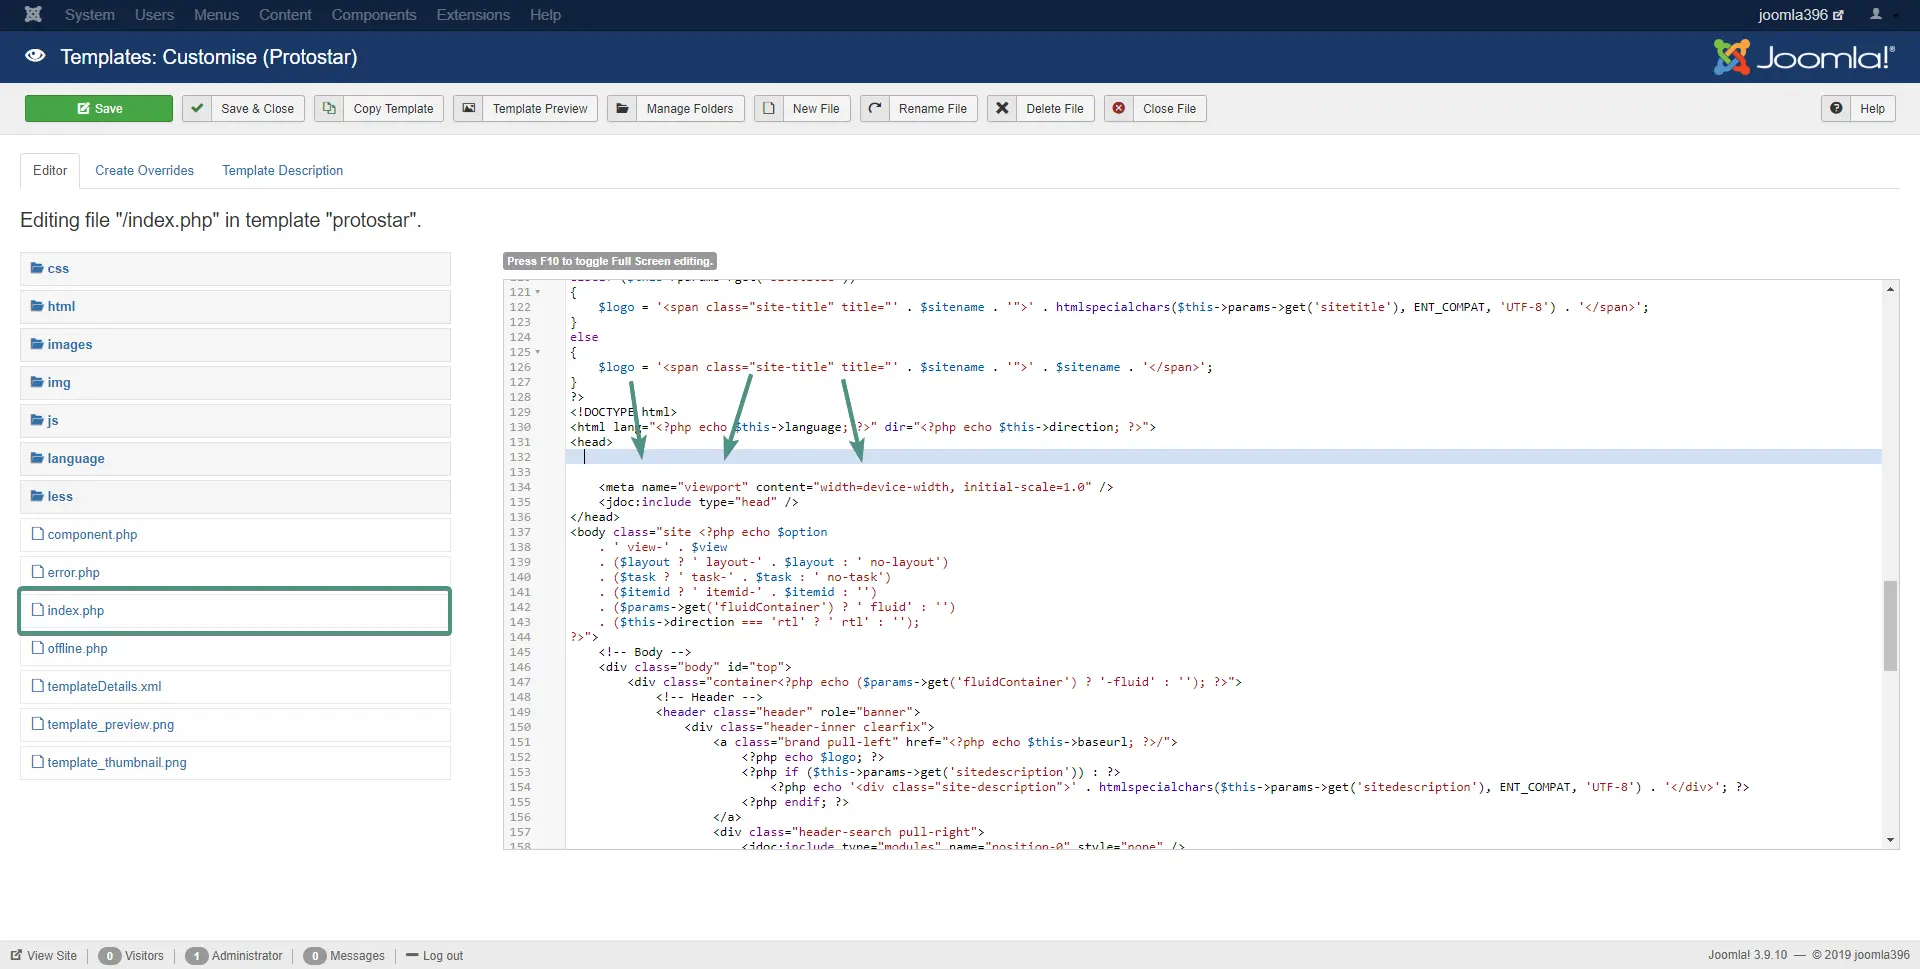
- Click Save
That should be it. Refresh your site and check if everything is present in your code.
Some templates have dedicated fields for adding the Tag Manager code, in which case you won’t need to manually paste the code in index.php, simply paste it in the relevant field in the template settings.
This concludes this article. Hopefully you learned something new and are going to make the most of the newly found information about your site.
After adding Google Tag Manager, you might want to add Google Analytics to your site. Those two work in conjunction and offer even more information. Read our article on Adding Google Analytics.